“All that man needs for health and healing has been provided by God in nature, the challenge of science is to find it.” Philippus Theophrastrus Bombast that of Aureolus ~ Paracelsus (1493-1541) Several years ago a New Years Resolution for me was to learn more about herbs as medicine. Well I now know enough to know, I will never know enough in my lifetime, about the wealth of health packed in herbs. Did you get that?! It’s a lifetime of learning. Bottom line…they are beyond tasty and are amazingly good for us. But I won’t get started on that aspect as THIS post is just to simply encourage you to dry what you grow, or even start growing herbs if you’ve never grown a thing, because they are so easy and useful whether fresh or dry. 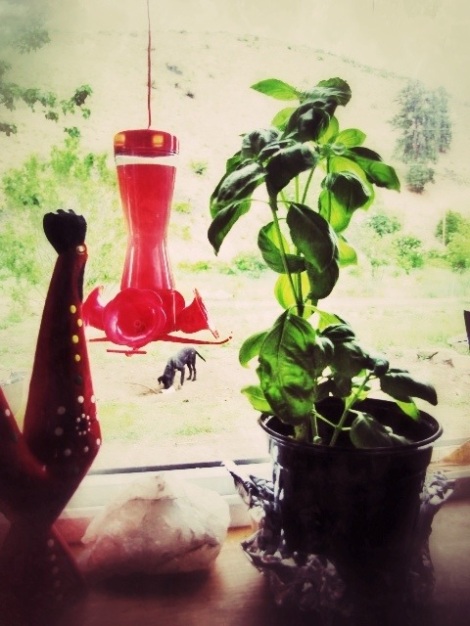 A small 4-inch potted plant in your windowsill is a great start. (Grow little basil, grow!) A little historical side note: the chunk of quartz on my ledge…I picked up off a farm in Scandinavia where we can trace our family back 600 years. I just think that is so cool. —Back to herbs, Herbs pretty much take care of themselves and most all of them are perennials, coming back year after year even more prolific than before (last year it was my chives, catnip, yarrow, and mints that went wild). Some of my annuals re-seed themselves for the next year (chamomile, dill, borage). Besides being used either fresh or dried in cooking, we use them in a lot of iced or hot teas (mint for upset tummies, elderflower for colds and flu…) and in many other healing and household products. It’s safe to say I use herbs on a daily basis. Then winter arrives. Buying them fresh in the grocery store until spring arrives again is not financially prudent for me, so I dry from my summer abundance.
 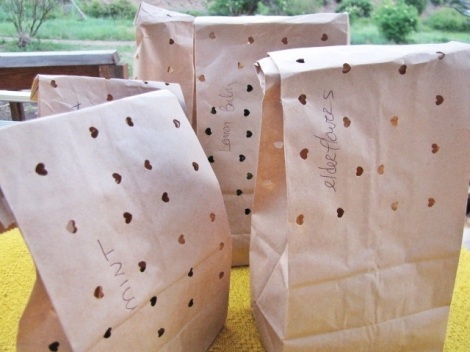 There really is no “one way” to dry herbs for use year round. Throughout the years I have dried them in the dehydrator, oven, microwave, by hanging bundles of them upside down in a closet, and spread out on cookie sheets and newspapers all over the house, and now, in brown paper lunch bags which I find to be the simplest for me. Check this out…here is one reason why you should try growing and drying a few yourself:
 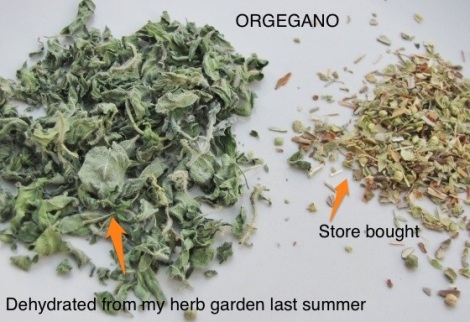 Hmmm, which one should I use… Amazing difference isn’t there.
 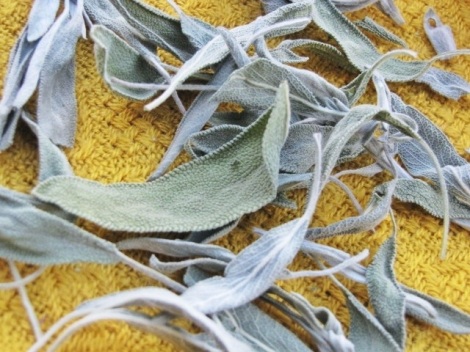 These sage leaves are also from last summer, still as full of flavor and vibrant in color as they were days after I dried them.
 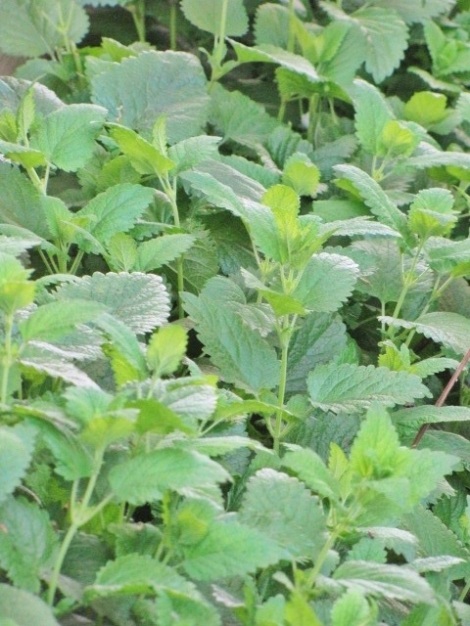 Most herbs like mint, oregano, basil, parsley, thyme, chives… you will want to cut the leaves to use or dry BEFORE they flower when they are at their peek of flavor and nutrients. Chives get woody once they flower, so just cut them towards the bottom and let them regrow before use. On this lemon balm I just trimmed 6-8 inches of the tops off since I have so much of it, but one could use the whole plant, or just choose the largest leaves to harvest. You pick. (Bahaha! I just crack myself up)
 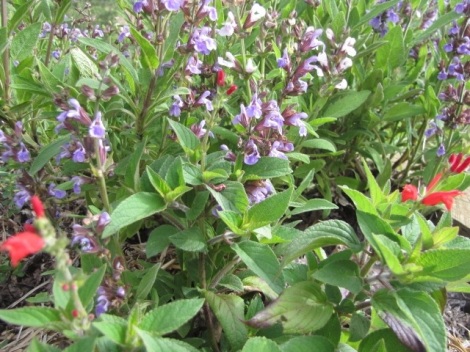 These sage plants flowered before I harvested any leaves. I will still use them fresh, cut them back, and wait until they grow back later this summer, before taking any to dry. (I’m trying out a pineapple sage this year…the one with the red flowers, along with the regular variety in purple.) Other herbs that you cut and dry the FLOWER instead of the leaves would be camomile, calendula, rose, lavender, elderflower… Although some herbal flowers are just best fresh like nasturtiums in salads.
 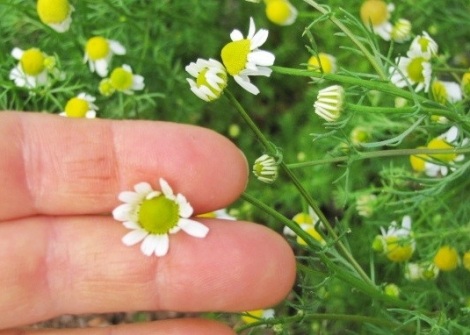 For harvesting camomile, just pop the buds off after they open in the morning (they close in the evening) and they will grow back in mere days…the never ending harvest!
 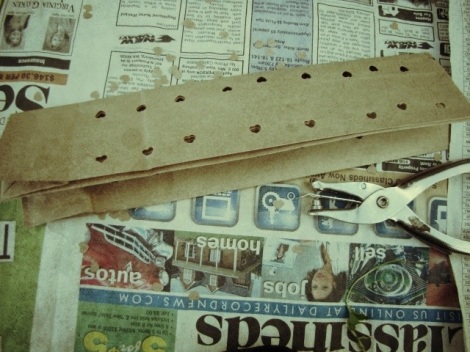 All I do now to dry herbs is place them in individual bags, making sure I have holes for air flow. That’s it really. I fold a lunch bag the long way to speed up hole punching, and avoid puncturing the bottom of the bag.
 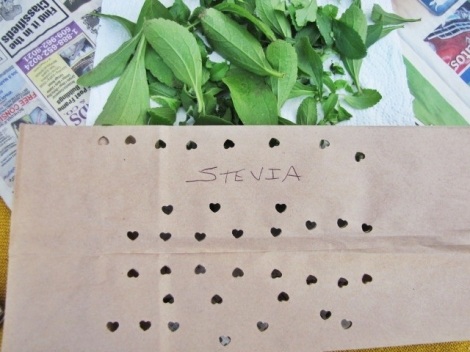 I will even dry an herb that I don’t have a lot of, even if it’s just a few leaves that I pinched off to allow the plant to grow bushier. The bag gets labeled, the herbs put inside, then placed in a cool area away from sunlight. I shake the bag once or twice every day until they are dry, which sometimes is just a couple days, depending on how full I packed the bag. The bags of dried herbs can be stored just as they are (I put bags together in a plastic bin) or placed in a glass container. A dark cool place is always best.
 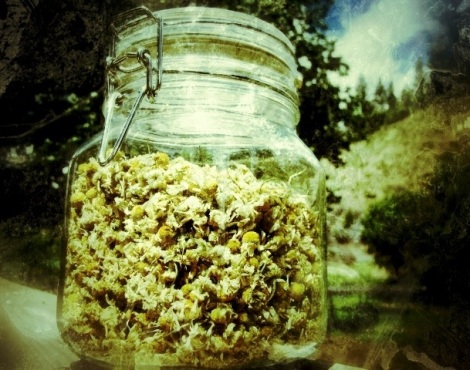 Camomile…tea for snowy days to come. You may want to think about what herb you use most in your spice drawer and start with that one. It’s the perfect time of year to plant a start of one outside and watch it grow to practically a bush size by summers end. I hope you do!
kains on the creek
come and be encouraged!

I love your teaching your Mother constantly. This is wonderful as all of your posts are. Thank you Sherry!
Pingback: Harvesting Elderflowers; Fragrant Tea and a Remedy | kains on the creek·